How to Configure Okta Device Access Certificates Across Different MDMs
Introduction
Because every IT environment relies on a different device management stack, certificate delivery looks slightly different depending on your tooling.
This post is the first installment of a multi-part series dedicated to configuring these certificates across various platforms. Today, we are focusing entirely on setting up the architecture using Jamf Pro, utilizing a dynamic SCEP configuration to automate deployment.
If your organization utilizes a different management platform, stay tuned. Detailed step-by-step implementation guides covering alternative major MDM solutions will be published in upcoming posts shortly.
Jamf Pro – Dynamic SCEP Configuration
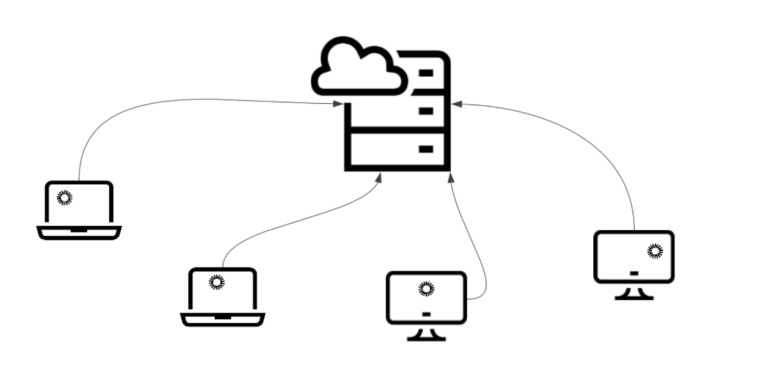
Deploying Okta Device Access certificates to Apple endpoints requires a secure, automated handshake between your certificate authority (CA) and Jamf Pro. By utilizing a Dynamic SCEP workflow, Jamf Pro acts as a trusted proxy—dynamically requesting and validating unique, short-lived challenge tokens for every single device before issuing the certificate to the local system keychain.
Okta – Dynamic Device Access SCEP Certificate Configuration
In this section, we will cover how to configure Simple Certificate Enrollment Protocol (SCEP) certificates to enable secure and reliable device access and authentication.
To begin configuration, navigate to Security > Device Integrations.

Navigate to the Device Access tab and initiate the process by clicking Add SCEP configuration.

Select Generic as the Dynamic SCEP URL type and click the Generate button.

The following credentials, generated by Okta , are essential for configuring the trust relationship within your Mobile Device Management (MDM) solution.
These details will be required to build the SCEP configuration profile in Jamf Pro.
Securely record the following four critical values displayed on the screen and Save the configuration.
- SCEP URL
- Challenge URL
- Username
- Password

Jamf Pro SCEP Profile Configuration
The next phase of the deployment involves creating a new Configuration Profile in Jamf Pro to deploy the necessary Platform SSO settings and SCEP credentials to the target macOS devices.
Create a dynamic SCEP profile in Jamf Pro
In the Jamf Pro console, navigate to:
Computers→Configuration Profiles
Then, click New to initiate the creation of a new profile.

On the General settings page for the new Configuration Profile, define the profile’s identity and determine its scope of deployment.Enter the following required information:
- Name: Provide a clear, descriptive name for the profile (e.g., “Okta Device Access – Dynamic SCEP”).
- Level Selection: It is highly recommended to select the Computer Level to ensure the certificate used for device identification is available to all local accounts.

In the left-hand navigation menu of the configuration profile editor, select the SCEP payload, and then click Configure to begin entering the certificate enrollment details.

The SCEP payload is the mechanism by which macOS requests and receives the necessary client certificates from Okta’s Device Access platform.
- Paste the SCEP URL copied from the Okta Admin Console.
- A descriptive name for the SCEP profile.
- Choose a time frame for the profile to be redistributed when its SCEP-issused certificate is the specified number of days from expiring.
Okta doesn’t support automatic certificate renewal.
The profile must be redistributed to replace the expired certificate. - An appropriate subject name based on the chosen profile level.
CN=$COMPUTERNAME ODA $UDID

Continue scrolling down within the SCEP payload configuration to define the authentication parameters required by Okta’s SCEP endpoint.
Configure the following settings:
- Select Dynamic – Microsoft CA.
- Enter the Challenge URL that was secured from the Okta Admin Console.
- Enter the SCEP Username obtained from Okta.
- Enter the SCEP Password obtained from Okta.
- Re-enter the SCEP Password for confirmation.

The last set of configurations within the SCEP payload dictates the characteristics and security constraints of the certificate being issued.
Complete the SCEP profile settings as follows:
- Set the Key Size field to 2048.
- Select Use as digital signature
- Deselect Allow export from keychain.
- Select Allow all apps access.
- click Save to commit the SCEP configuration profile.

With the SCEP payload fully configured, the last mandatory step is to define the target audience for the profile.
Navigate to the Scope menu and define the deployment targets:
- Target Computers: Select the specific computer groups or static computers that will receive this Platform SSO configuration.
- Target Users: Select the corresponding users or user groups who will be utilizing Okta for authentication on these devices.
Click Save to finalize the configuration profile and initiate its deployment based on the defined scope.